How to host a Discord Bot in Python on Zampto.net
Introduction
Hosting your Discord bot on a server eliminates the need to keep your personal computer running 24/7. Zampto.net provides an affordable and reliable solution specifically designed for hosting game servers and bots. By hosting your Python Discord bot on Zampto, you'll benefit from:
- 24/7 Uptime: Your bot will run continuously without interruptions
- Reliable Infrastructure: Industry-leading uptime guarantees
- Easy Management: User-friendly panel with intuitive controls
- Community Support: Access to a vibrant community of developers
- Cost-Effective: Competitive pricing with flexible billing options
In this guide, we'll walk you through the entire process of deploying your Discord bot to Zampto, from initial setup to troubleshooting common issues.
NOTE: This article is dedicated to SIMPLE Discord Bots, not complex applications with dashboards, multiple databases and more.
Prerequisites
Before you begin, ensure you have the following:
- Zampto Account: If you don't have one yet, sign up at zampto.net
- Discord Bot Code: Your Python bot code ready to deploy (must be compatible with discord.py or similar libraries)
- Discord Bot Token: Available from the Discord Developer Portal
- Basic Python Knowledge: Understanding of Python syntax and package management
Step 1: Creating Your Server on Zampto
The first step is to create a new server on Zampto configured for Python applications.
Navigate to the Server Creation Page
- Log in to your Zampto account
- Click on "Create Server" or "New Server" button
- You'll be presented with a list of available eggs (pre-configured environments)
Select the Python Server Type
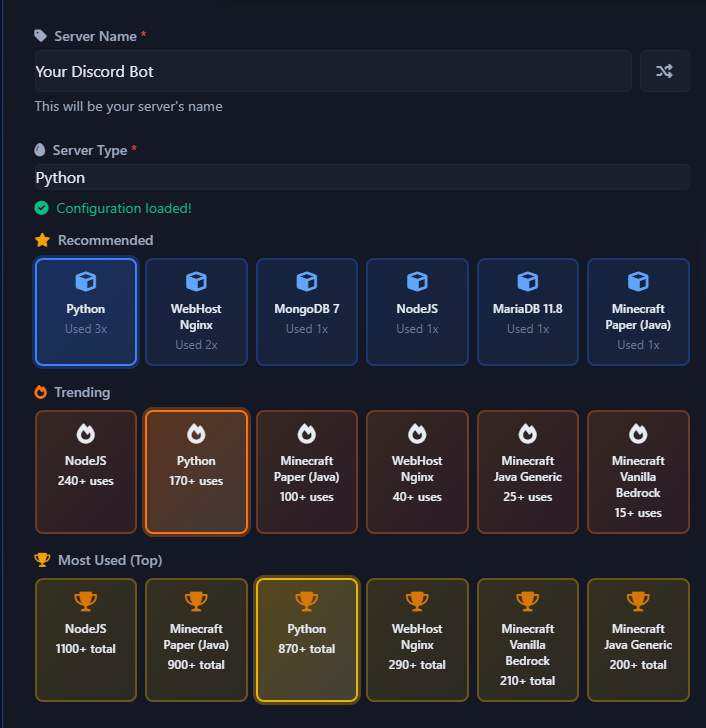
- In the server type selection dropdown, search for "Python"
- Select the Python server type from the list
- Choose your desired server name (e.g., "My Discord Bot")
- Select your preferred server location (choose one closest to your region for lower latency)
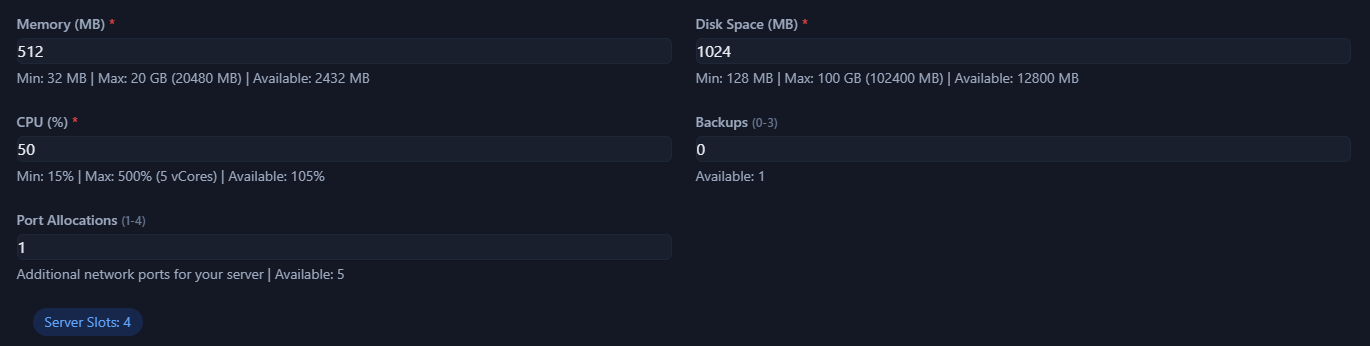
- Configure your resource allocation (CPU, Memory [RAM], and storage based on your bot's needs)
Example Resources:
Confirm and Create
- Review your server configuration
- Click "Create Server"
- Zampto.net will provision your server (this typically takes 2-5 minutes)

Once the server is created, you'll see it in your server list with a status indicator showing it's ready for configuration.
Step 2: Understanding the requirements.txt File
The requirements.txt file is crucial for Python hosting. It lists all the Python packages your bot depends on, and Zampto automatically installs them when your server starts.
Why requirements.txt Matters
When you run your bot locally, Python loads packages from your system's Python environment. However, on Zampto's servers, there's a fresh Python installation. The requirements.txt file tells the server exactly which packages to install, ensuring your bot runs with all its dependencies.
Creating requirements.txt
In your bot's root directory, create a file named requirements.txt and list your dependencies. Here's a practical example:
aiohttp==3.13.3
discord.py==2.6.4
python-dotenv==1.2.1
Where to Place requirements.txt?
Your requirements.txt file should be in the same directory as your bot's main Python file:
/home/container/
├── requirements.txt
├── app.py
└── other stuff (optional)
Step 3: Uploading Your Bot Files to Zampto.net
Once your server is created, you need to upload your bot files to the server.
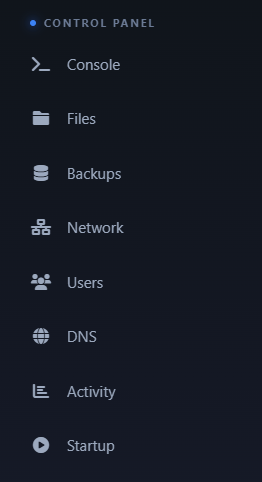
Accessing the File Manager
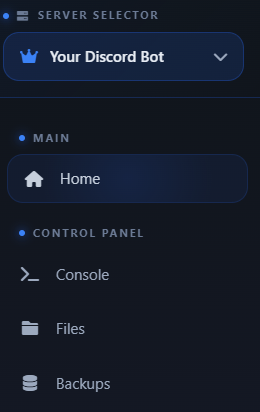
- From your server's panel, navigate to the "Files" button and click it.
- You'll see the default directory structure with folder
/home/container.
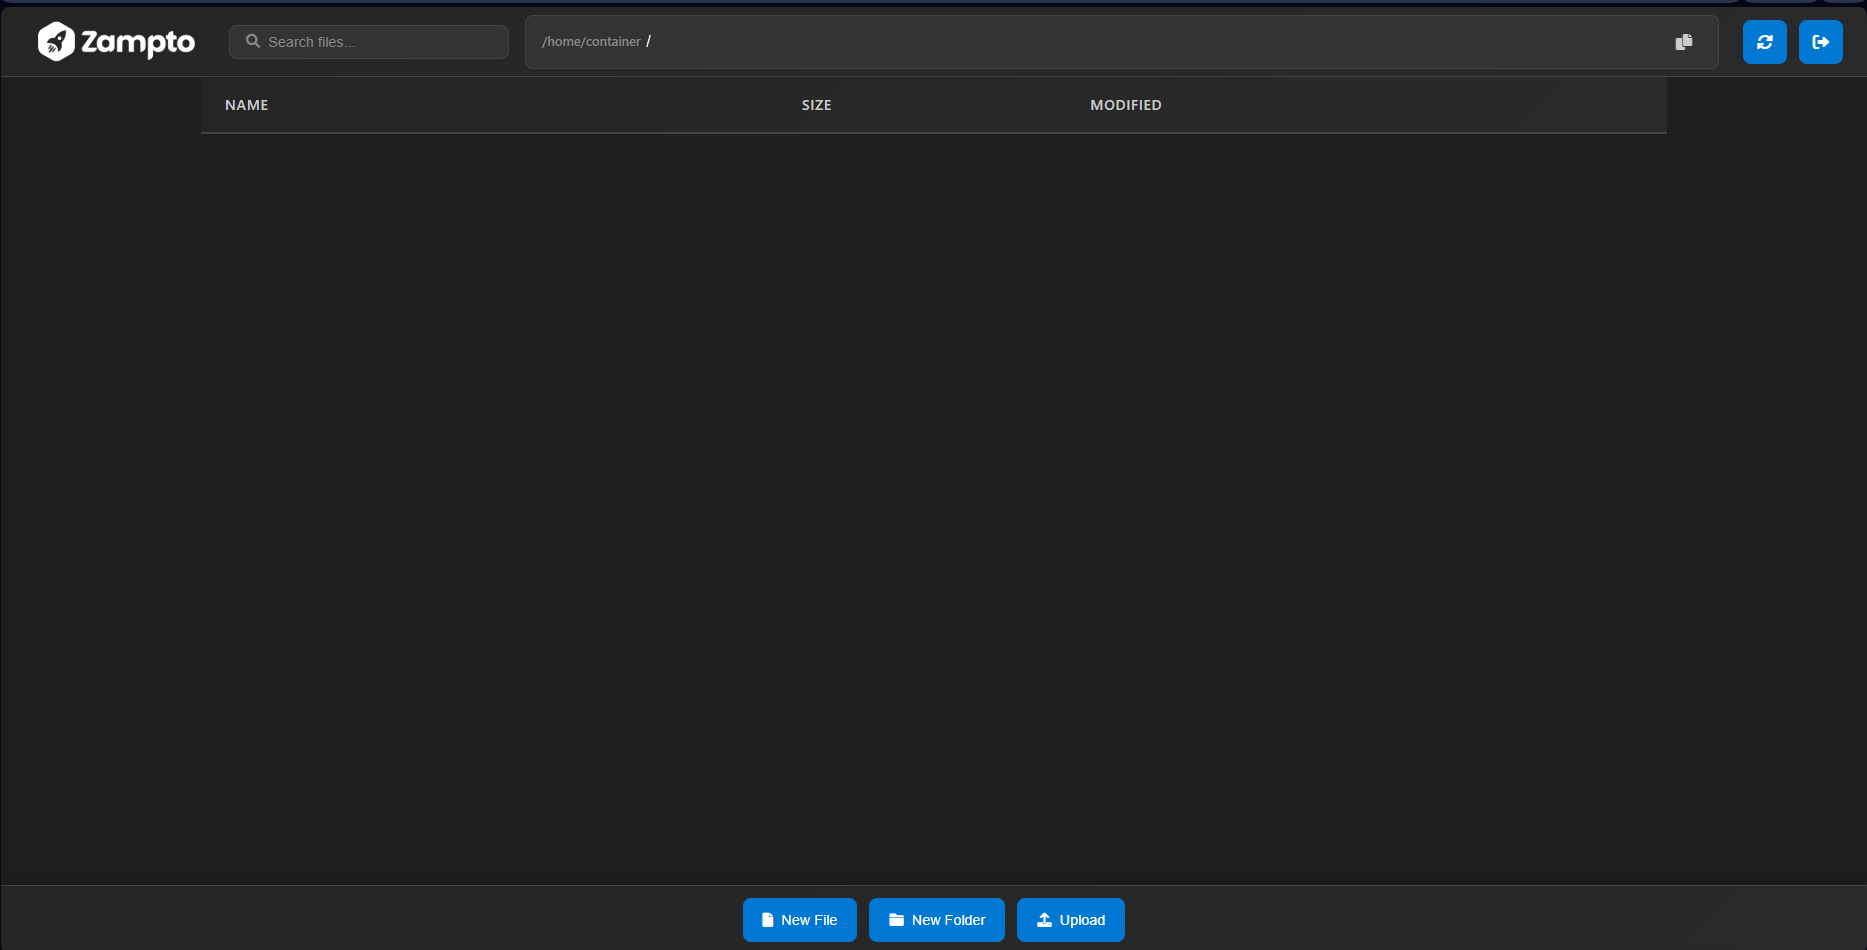
Uploading Files
- Click the "Upload" button at the bottom in the File Manager
Upload the following files:
app.py(or your bot's main entry point)requirements.txt- Any additional Python files your bot uses (cogs, utilities, etc.)
- Configuration files (e.g.,
.envif not using environment variables in the panel)
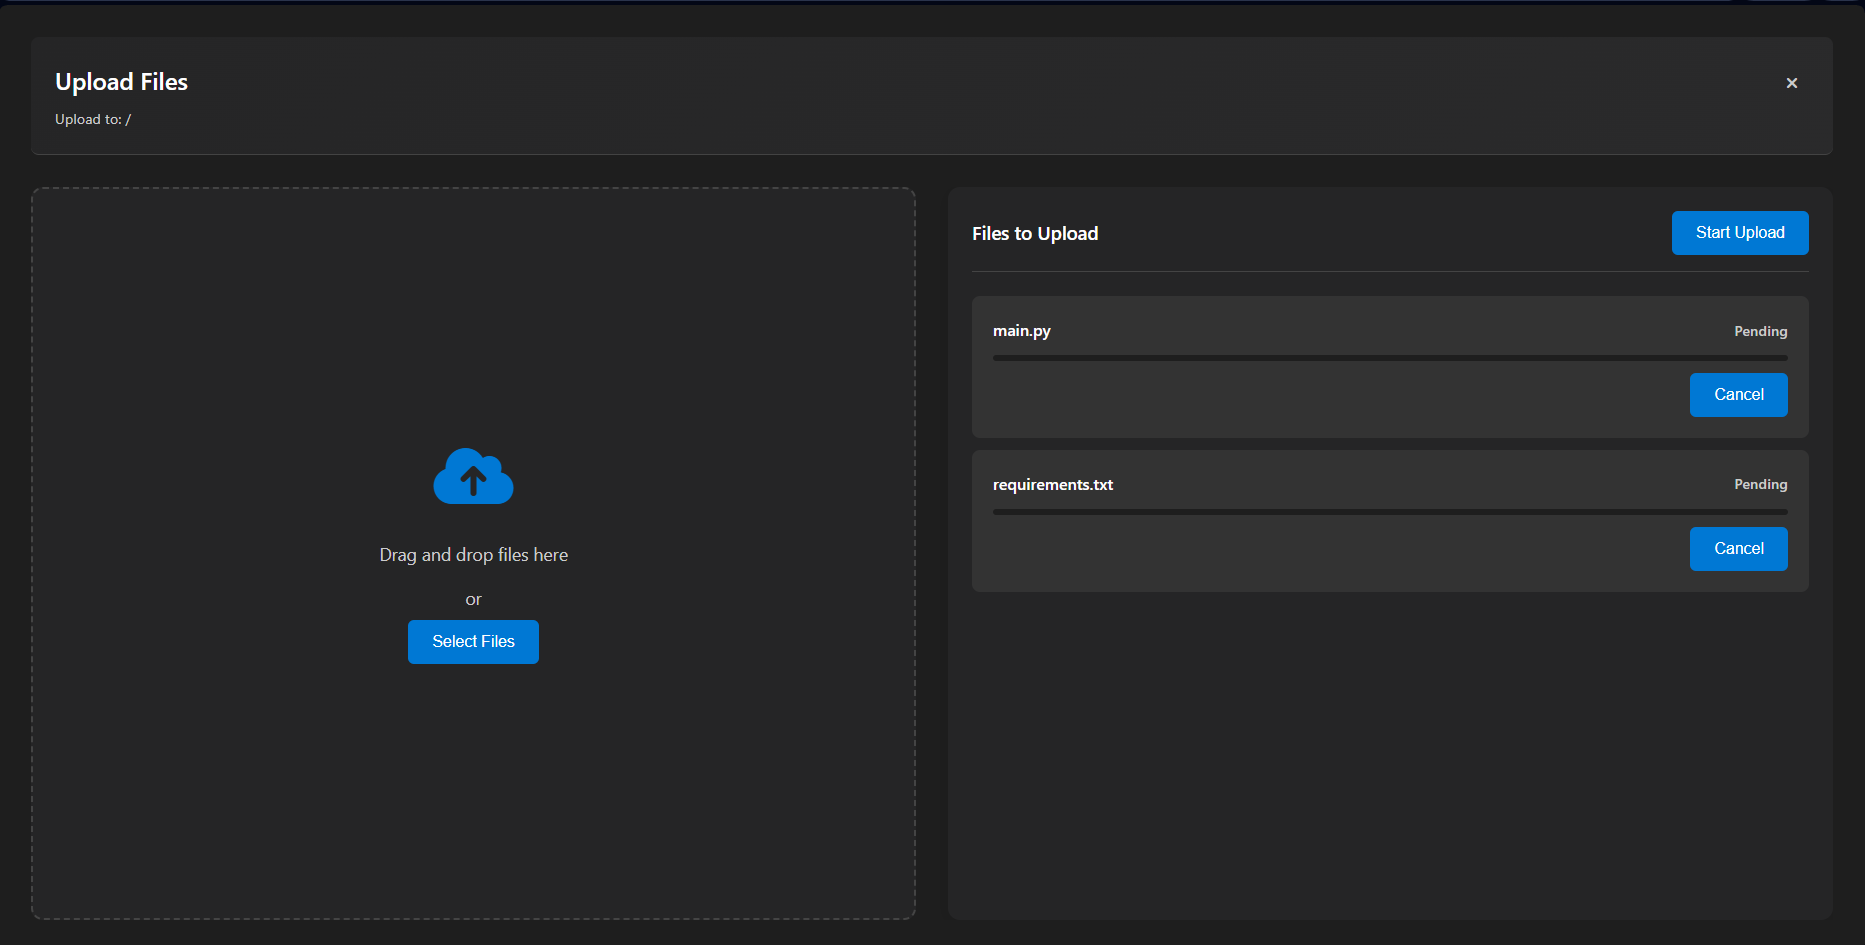
-
Click "Start Upload" button at the right.
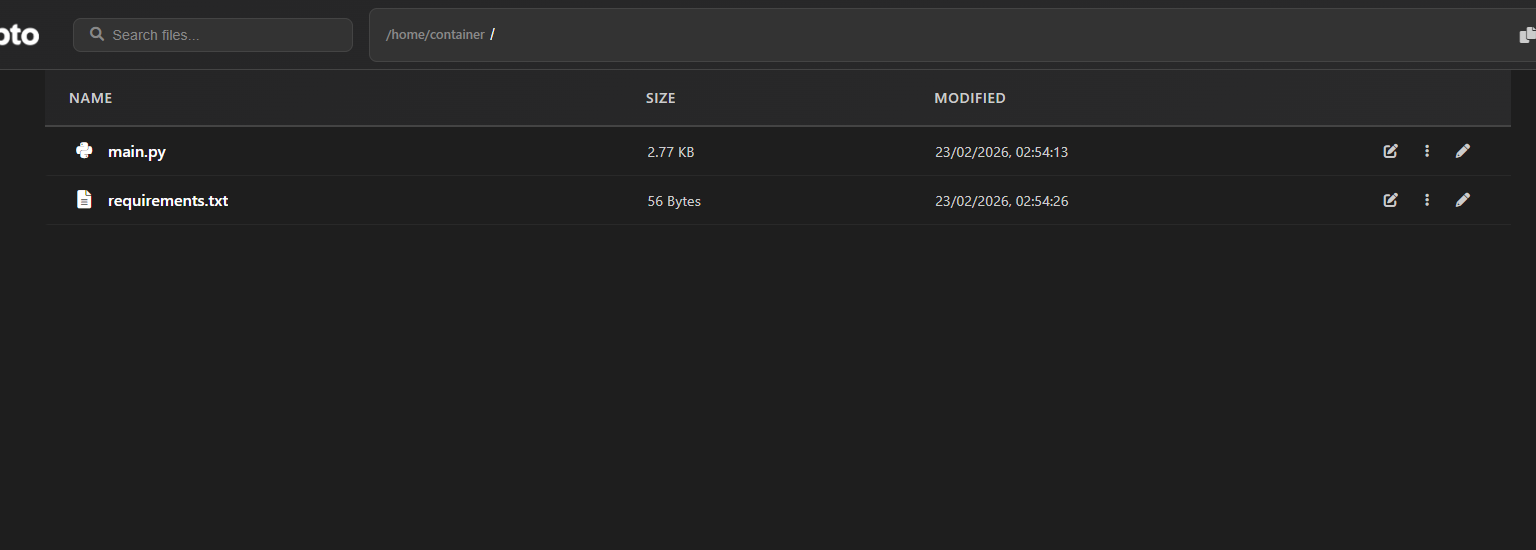
-
All files should appear in the main area of the file manager.
Step 4: Configuring Startup Settings
The startup configuration tells Zampto how to start your bot. This is configured in the "Startup" tab.
Navigate to Startup Settings
- Click on the "Startup" tab in your server panel
- You'll see several configuration options:
- Docker Image: The Version of Python you Want at Example 3.12
- Main File: The path to your bot's main Python file
Setting the Docker Image
The Docker Image is at the top and you can choose the one you want.
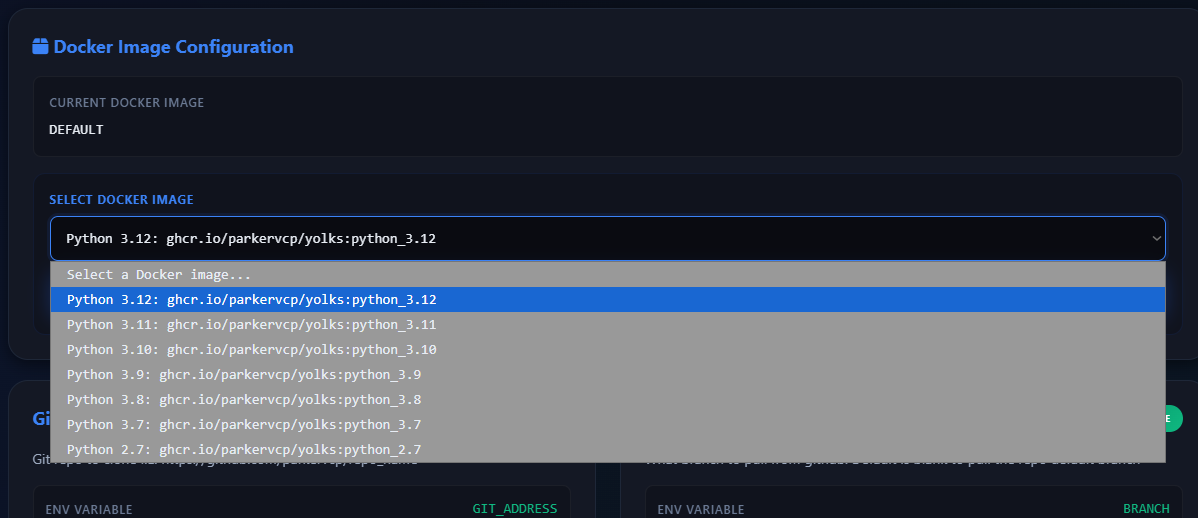
- Locate the "Docker Image Configuration" section
- Click on the value field and select the one you want
- Save your changes clicking "Update Docker Image"
Setting the Main File
The Main File variable specifies which Python file contains your bot's entry point.
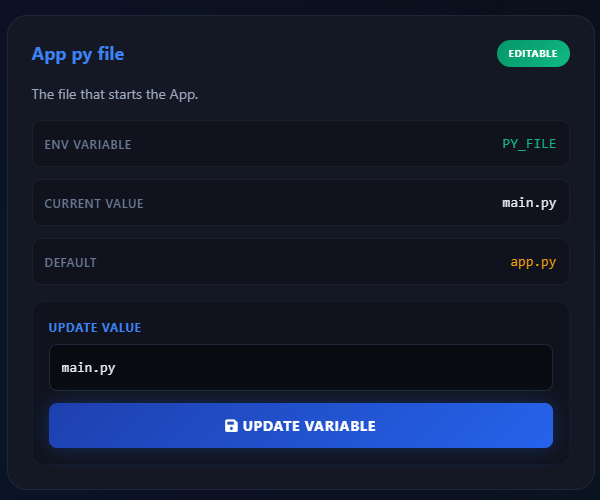
- Locate the "Main File" variable (it may already be listed)
- Click on the value field and enter your main file name:
app.py - Save your changes
Step 5: Starting Your Bot and What to Expect
Now that everything is configured, it's time to start your bot.
Starting the Bot
- Return to your server's main panel
- Click the large "Start Server" button (typically green)
- The server status will change to "Starting"
Watch the Console tab to see real-time output from your bot:

Verifying Your Bot is Online
- Open Discord and go to a server where your bot has been invited
- Check if the bot's status shows as "Online" (indicated by a green dot)
- Try sending a simple command to test if it responds
Congratulations!
You now know how to host a Discord bot on Zampto. Your Python bot is running 24/7 on reliable infrastructure, independent of your personal computer.
For additional help or questions, consider reaching out to Zampto's support team or visiting the DBA section where you found this guide at zampto.net/dba.
Happy coding, and enjoy your always-on Discord bot!